plugin version 1.2.0.20221110.151100 (by DanielOnDiordna)
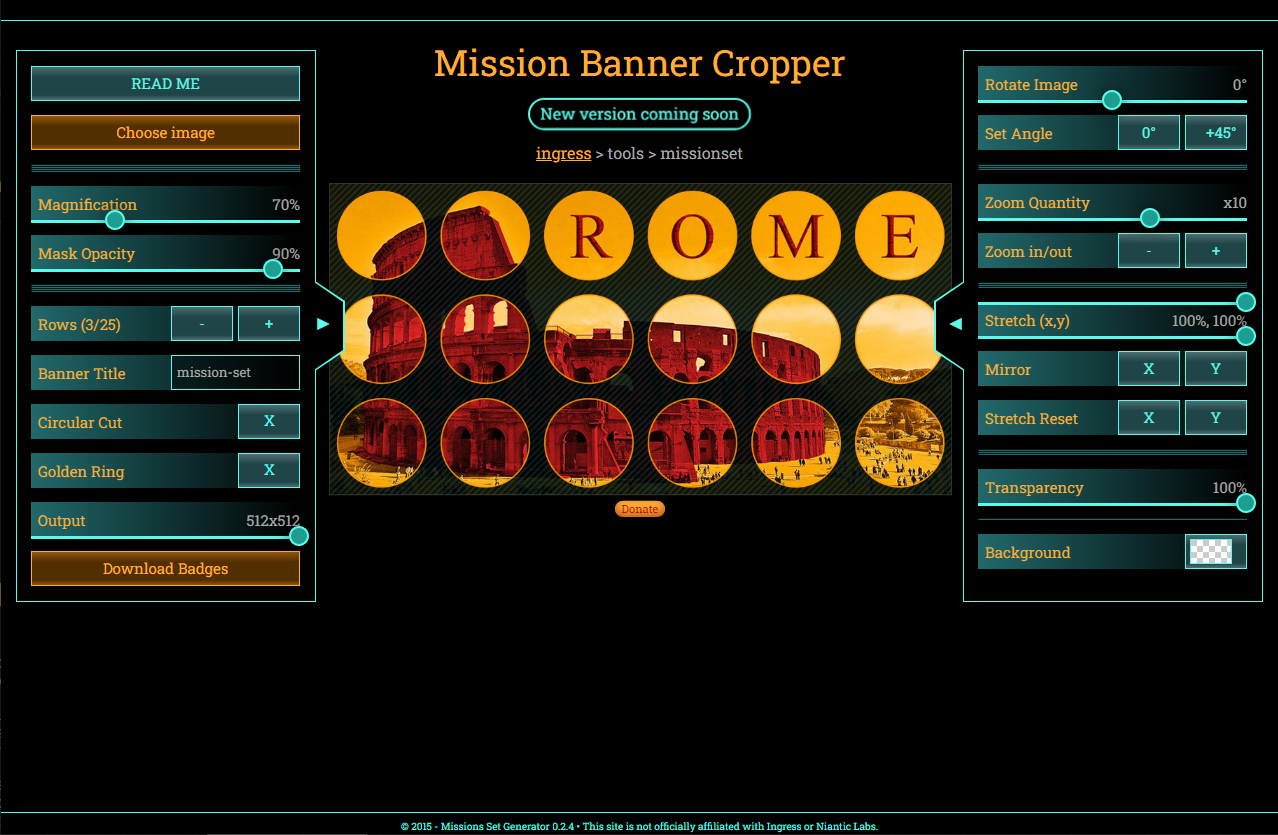
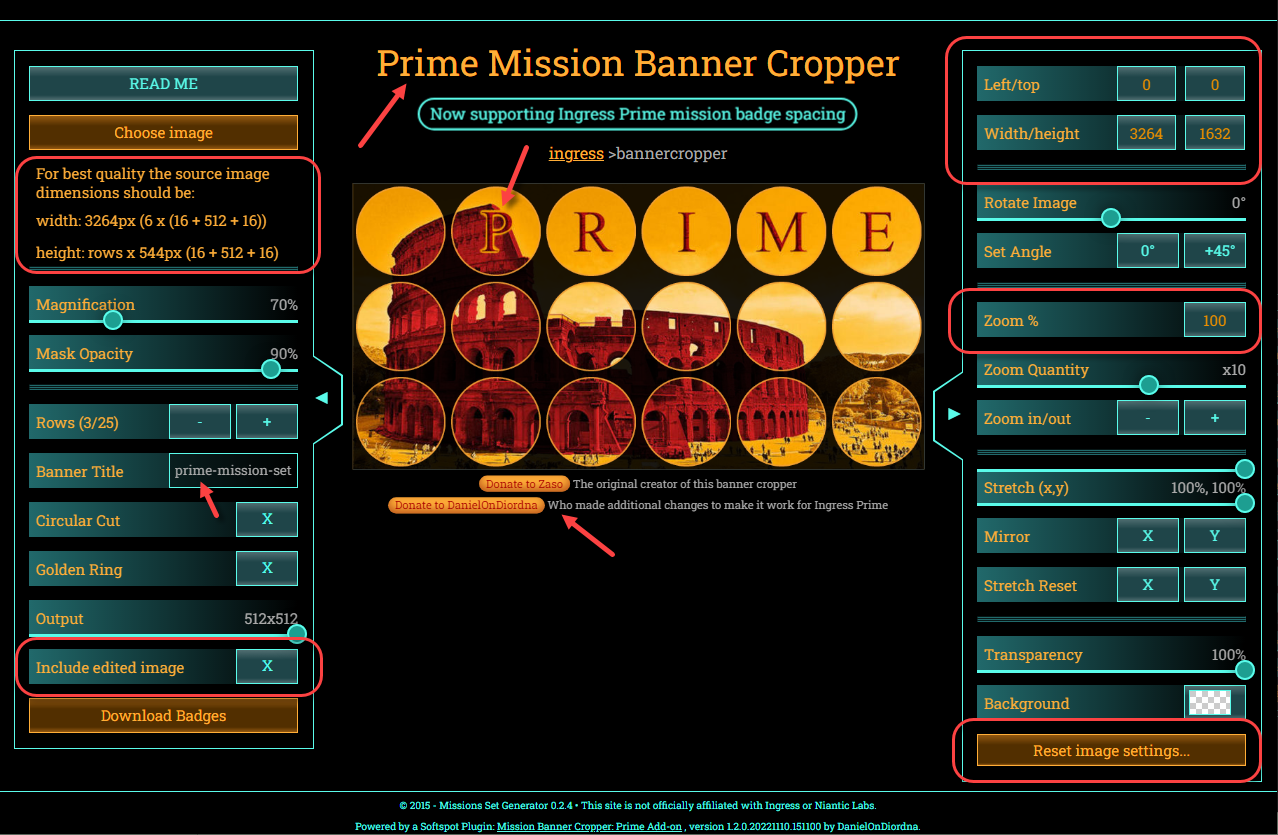
Mission Banner Cropper is a great tool, but the output badges still have the spacings for the old redacted Ingress.
With this plugin the website will get the correct Ingress Prime mission badge spacing, and more.
Here you can see a sample of the website with different buttons and texts (Original vs. the Prime Add-on): >
Installation instructions:
You need a large screen, a phone is not very practical, but it can work.
You will need to use for example Google Chrome with Tampermonkey extension.
On Android you can use Kiwi browser, also with Tampermonkey.
On iOS 15 you can also try to use Safari with userscripts extension.
Note: This Add-on cannot be used with the IITC CE Button extension, it does not work for the Mission Banner Cropper website.
Note: This Add-on cannot be used inside IITC mobile.
Next, install the Add-on (use the Open file button on this page) and open it into your extension.
Make sure to check for updates from time to time. Suggestions are welcome, check out the Telegram links.
Usage instructions:
Open the Mission Banner Cropper website.
If the Add-on works, you will see, among other changes, a "Powered by a Softspot Plugin" message in the footer.
Prepare an image in your favorite photo editor, use dimensions of 3264 pixels wide, and 544 pixels high per row.
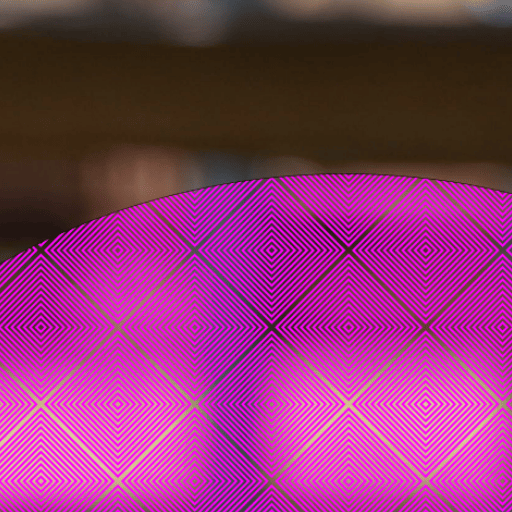
If your photo editor can work with layers, you can fill a layer with this transparant Prime Mask image of 544x544 pixels.
Save your file, open the Mission Banner Cropper website, and click Choose image to select your file.
Preview the image with the mask. You can use the sliders and buttons to make any required changes.
Enter a Banner Title name, and click Download Badges to download a Zip file.
You can also choose to include the edited image, in the original dimensions.
Unzip your file into a folder. Open the preview file to check if the images are correct.
Open the Ingress Mission Authoring Tool and start making your missions.
Upload each image, in the right order (number 1 is bottom right, count to left top).
Optionally you can use the IMATTC Plugin and the Ultimate Mission Maker plugin.
Changelog:
version 1.1.0.20220705.233900
fixed footer in front of image rows
added auto fit number of rows for loaded image
version 1.0.0.20220704.194300
first release
be aware that this add-on will only keep working as long as the original website is not changed
prevent the orgininal script main.min.js from loading on windows load
retrieve the original index html code and insert modifications
retrieve the orgininal script main.min.js and insert modifications
add some style.css changes
replaced the 40 pixel spacing with 16 pixel spacing on all sides
replaced the circular mask with a mask with Ingress Prime dimensions and color
added an extra preview html file with the downloaded badges
added an extra checkbox to include the edited image to the download
added support for setting dimensions manually (left, top, width, height)
added support for setting zoom manually
added a reset button for all image adjust settings (right pane)
replace the readme link to the official mission criteria
swapped the arrow direction on the sidepanes
store and restore settings (Magnification, Mask Opacity, Banner Title, Circular Cut, Golden Ring, Output size, Include edited image, Transparency, Background)
fixed non-updating stretch x,y display values when choosing a new image
cleaned up separator lines between the buttons
added a possibility for small (mobile) screens by making the screen scrollable to see the side panes
The problem (and solution) with Banners
As you may already know, you can create missions for Ingress, with a single image. The optimal Mission image resolution is 512x512 pixels.
And you will also know that you can combine a group of missions, with a set of images, to form a banner. This can be done with one row of 6 missions, or multiple rows.
To create a banner, you will need to split up an image into equal square parts.
You can split up an image without any spacings, but the Ingress scanner will show spacings between the images.
The distance between 2 mission images is 32 pixels. To make a nice banner, you should cut away the area between 2 images, and leave a square of 512x512 pixels.
Every image, including spacing, would be 16+512+16, or 544 pixels.
For the best quality your image should be of 6x544, or 3264 pixels width, and 544 pixels high per row.
There are several tools to help you split up an image. This can be done with a script for GIMP, or a script for PS, and there is also the online Mission Banner Cropper, by Zaso.
Sadly, the Mission Banner Cropper is using the wrong spacing! It is using 80 pixels between 2 images, this was the right spacing for the older Ingress redacted version, but looks completely wrong in Ingress Prime.
Luckily, there is this Mission Banner Cropper: Prime Add-on, that will fix the spacing for the website to the correct 64 pixel spacing, compatible with Ingress Prime.
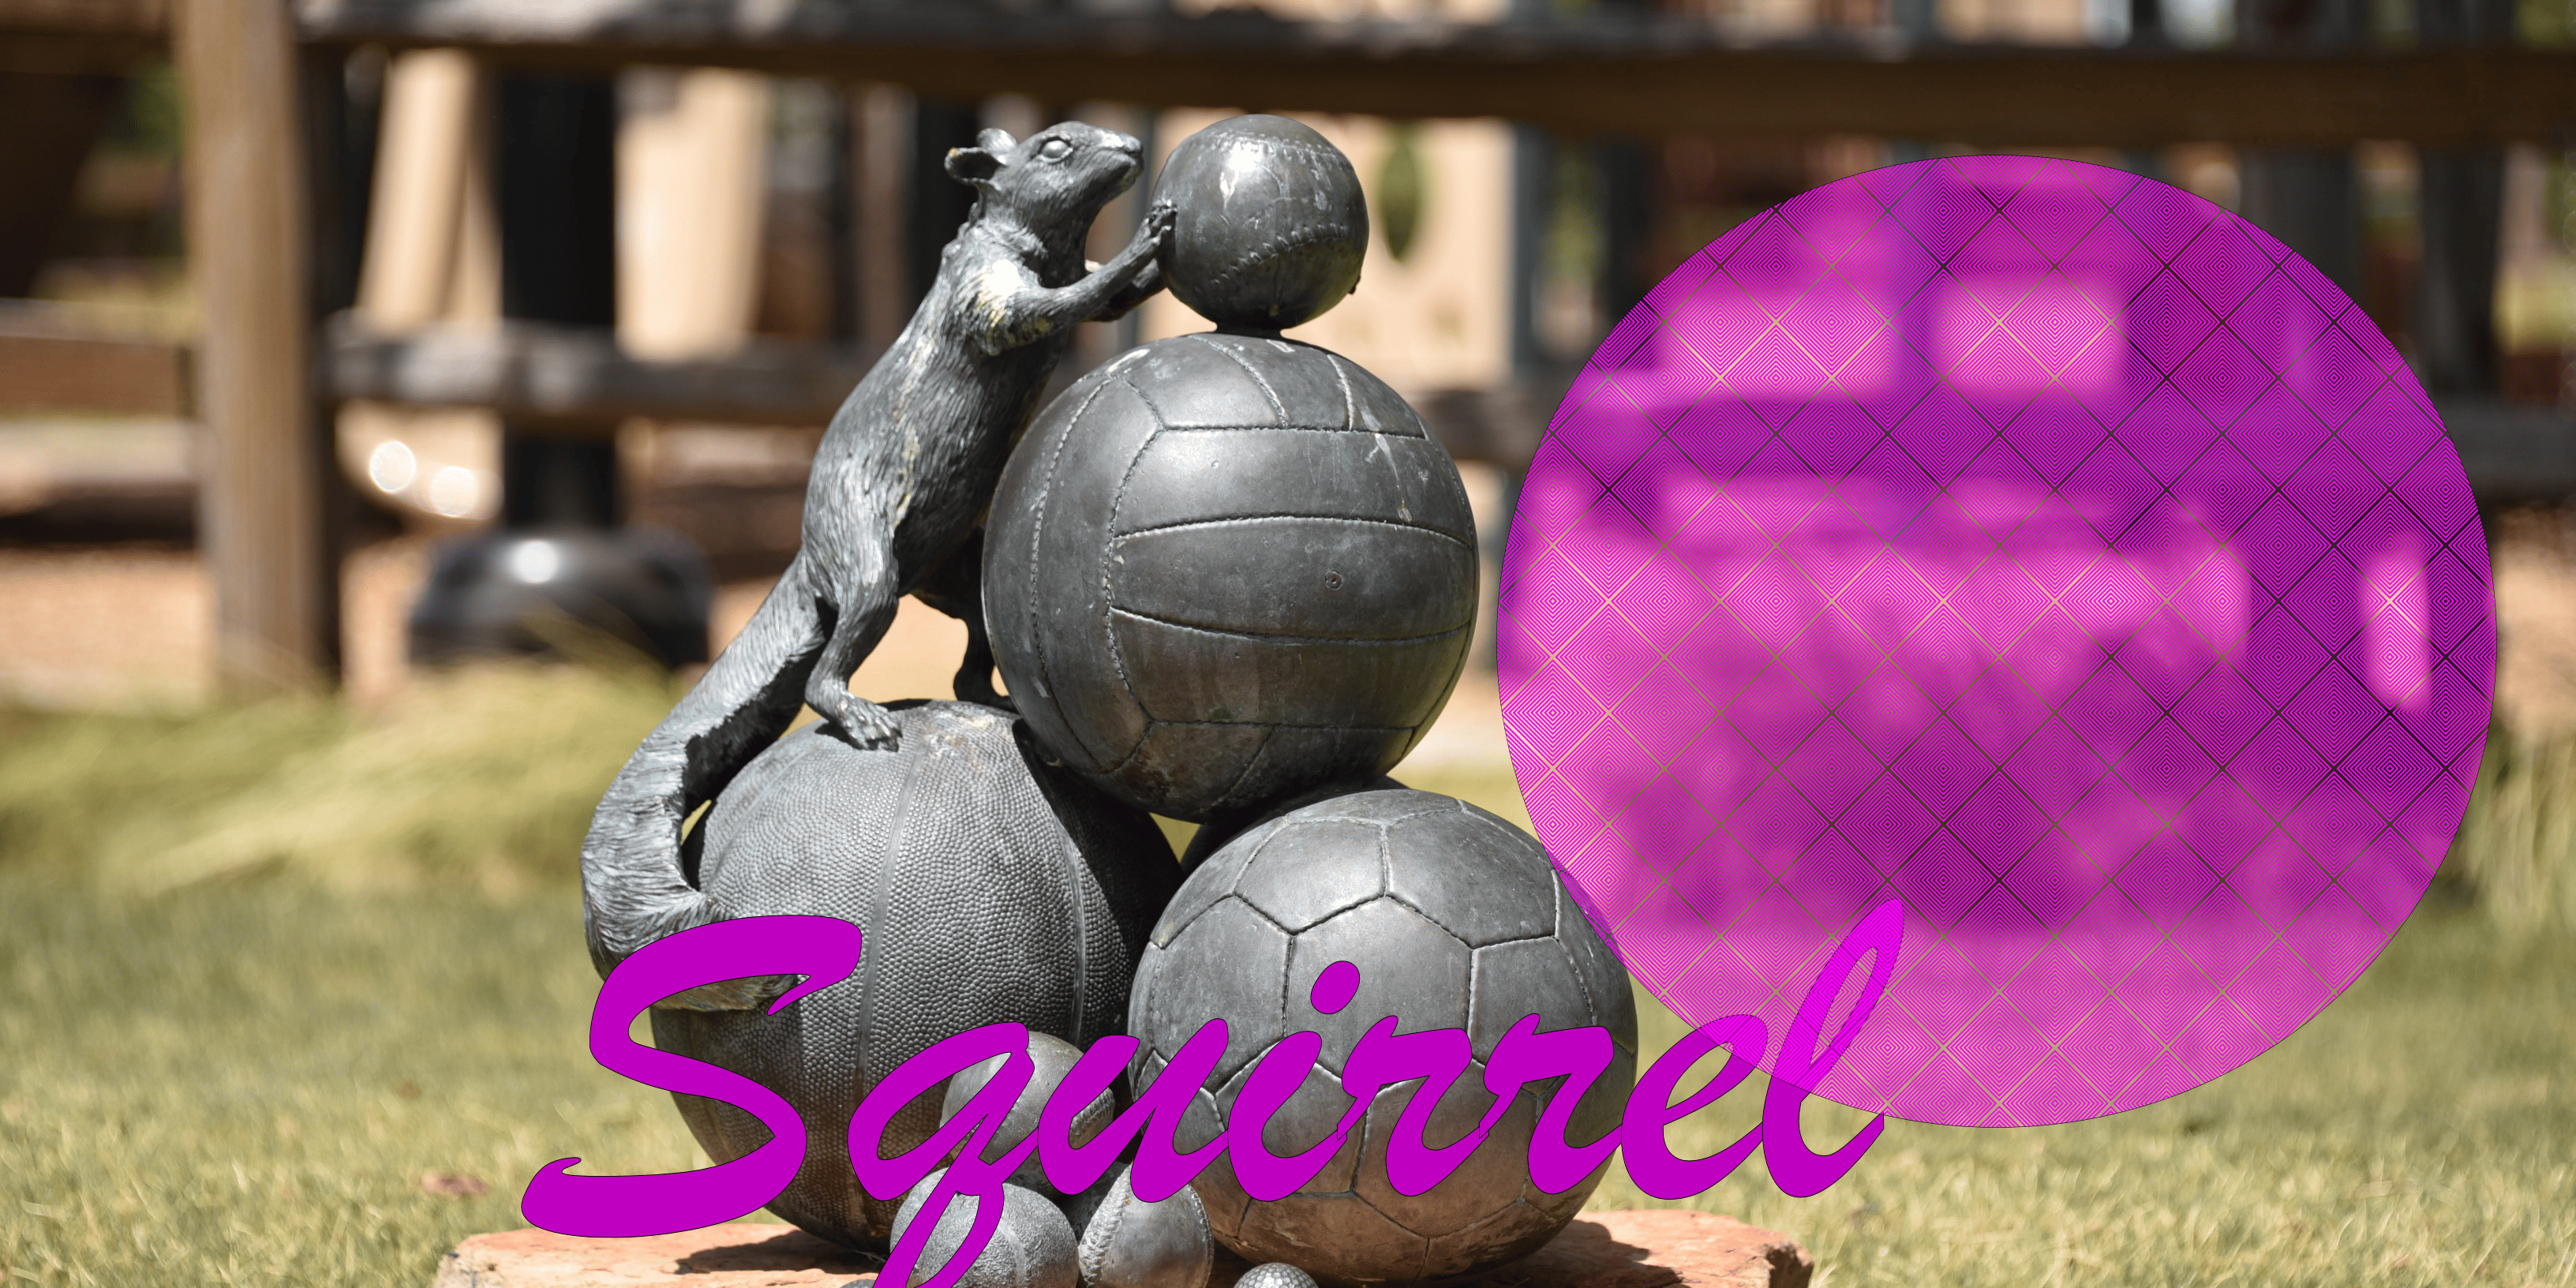
The add on will also add an extra banner preview file to your download of badges, with a mask toggle button (like in the examples below).
Problem
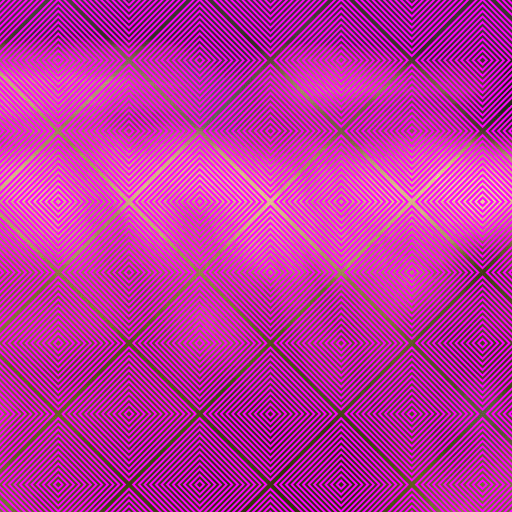
To show you what went wrong with the original website, I have created an example image with circles and text:
You can rightclick and save this source image to try for yourself.
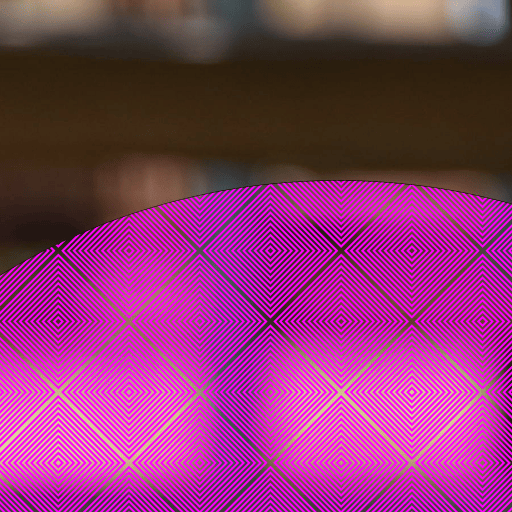
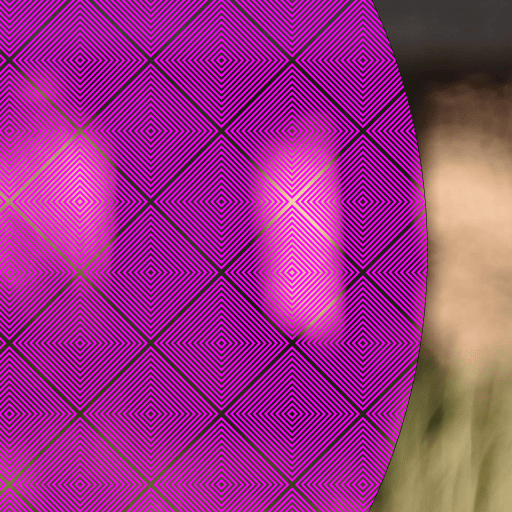
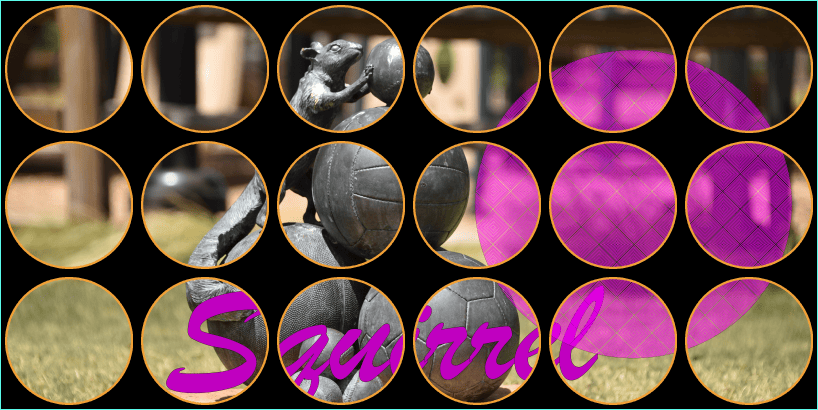
If you use the original banner cropper, the output images would look like this in Ingress Prime, and although, you can hardly see it, but especially circles and text are going all wrong:
Old spacing displayed in Ingress Prime:
Solution
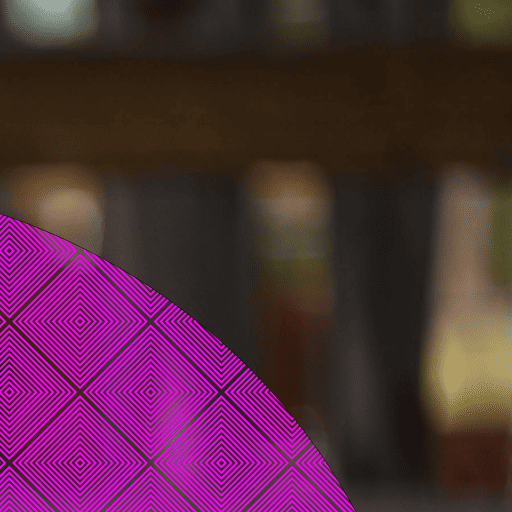
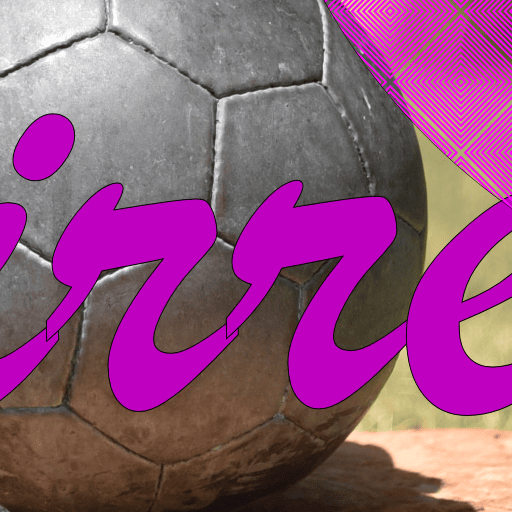
If you use the banner cropper Prime Add-on, the output images will look like this in Ingress Prime, as you can see, the circles are circular again:
New spacing:
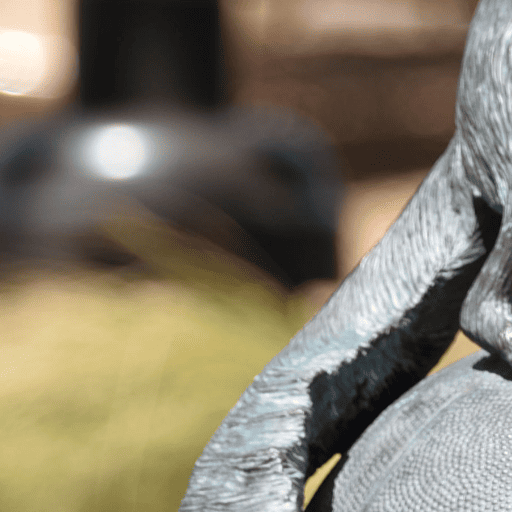
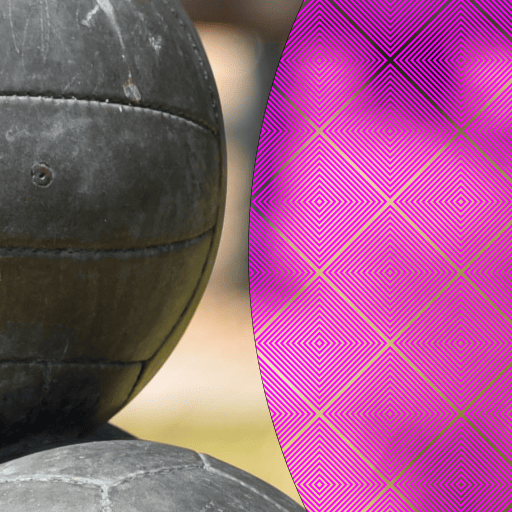
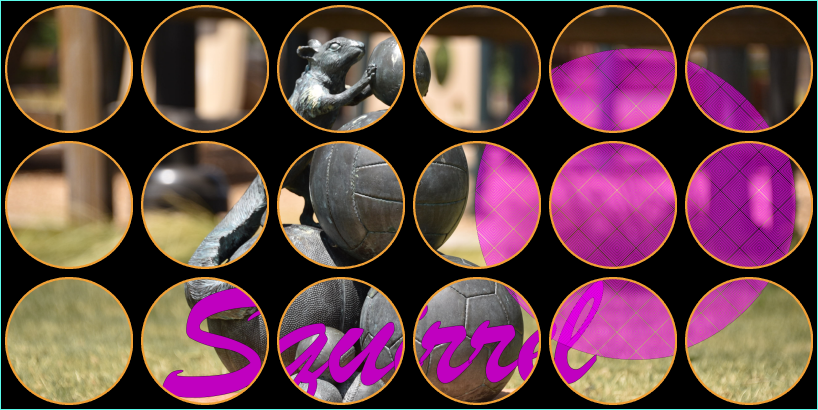
Here is another example to show the differences between the original and Prime spacing:
 >
> 


